


How to Order Custom Lapel Pins: A 2026 Guide
Table of Contents
- What You'll Need Before You Order Custom Lapel Pins
- Custom Lapel Pin Pricing Factors: What Drives Your Quote
- Lapel Pin Design Tips for Artwork That Works
- Step-by-Step: How to Order Custom Lapel Pins
- Custom Pins with Low Minimum Orders: How to Start Small
- Common Mistakes to Avoid When Ordering Custom Lapel Pins
- A Note on Sustainability and Durability
- Frequently Asked Questions
Last Updated: September 11, 2026
What You'll Need Before You Order Custom Lapel Pins
Ordering custom lapel pins starts with four things: a finalized design concept, a vector or high-resolution artwork file, a quantity decision, and a target date. Gather these before you contact anyone, and the process moves twice as fast, the difference between a smooth two-week project and a month of email tag.
Most buyers lose time by treating artwork as an afterthought, sketching an idea, sending a phone photo, then waiting through three rounds of cleanup. Have these ready:
- A clear concept. What the pin represents, and where it will be worn.
-
Artwork in the right format. Vector files (
.ai,.eps,.pdf) scale cleanly; raster files (.jpg,.png) often don't. - A quantity range. Even a rough number changes your per-unit cost and your production schedule.
- A deadline. Recognition events, fundraisers, and conferences don't move.
Custom Lapel Pin Pricing Factors: What Drives Your Quote
The biggest driver of custom lapel pin pricing is quantity, followed by size, material, plating, and the number of colors. A single pin costs far more per unit than the same pin ordered in bulk, because setup work is spread across the run.
Factor |
What It Affects |
How to Control It |
|---|---|---|
Quantity |
Per-unit cost drops as volume rises |
Order in bulk for large events |
Size |
More metal and enamel per pin |
Stay near 1 inch for budget runs |
Material |
Pewter, brass, and zinc differ in cost |
Match material to wear frequency |
Plating |
Gold and nickel add cost and shine |
Pick plating to match brand colors |
Colors |
Each color adds a step |
Limit your palette where possible |
Backing |
Clutch, rubber, and magnetic vary |
Choose by how the pin is worn |
The die charge is a one-time setup fee for cutting the mold. It doesn't repeat on reorders of the same design, which is why reordering is cheaper than a first run.
Lapel Pin Design Tips for Artwork That Works
Design for the pin, not for the screen. A logo that reads perfectly at 12 inches can turn into an unreadable blob at 1 inch. These rules keep your artwork legible after it's cast and plated, starting with the file itself.
Vector vs. Raster: Know Which File You Have
The single biggest cause of production delays is submitting the wrong file type:
-
Vector files (
.ai,.eps,.pdf,.svg) are built from mathematical paths. They scale to any size without losing edges, which is exactly what a die cutter needs. If you have a vector file, you're ready to submit. -
Raster files (
.jpg,.png,.tif,.gif) are built from pixels. They look fine on screen but break down when enlarged. A raster logo that's 2 inches wide at 72 DPI will look jagged when scaled to a 1-inch pin.
If you only have a raster file, check its resolution first: at least 300 DPI at the final print size, or roughly 300 pixels across for a 1-inch pin. Anything smaller needs a redraw, which adds time and often a fee.
Color Modes and Pantone Matching
Screens display color in RGB; printing and enamel work in CMYK or Pantone. An RGB file won't match the finished pin, so convert to CMYK or, better, specify Pantone Matching System (PMS) colors by number. A Pantone color match keeps your pin consistent with your brand across reorders.
Keep your palette tight: each additional color adds a production step and raises your per-unit cost. Two or three colors is typical for a clean, readable pin.
Design Rules That Survive Metal
- Simplify aggressively. Thin lines and tiny text disappear in metal. Bold shapes survive. If a line is thinner than about 0.5 mm at final size, it may not cast cleanly.
- Use high contrast. Adjacent colors of similar value blur together once enamel fills the recesses. Pair light against dark.
- Think in layers. Die-struck pins raise metal lines; soft enamel sinks color below them. Design with that depth in mind.
- Test at actual size. Print your design at 1 inch and look at it from arm's length. If you can't read it, neither can anyone else.
- Leave a margin. Keep critical elements at least 1/16 inch from the edge so they don't get clipped during cutting.
For lapel pin design tips, the most useful habit is restraint: every element you remove makes the remaining ones sharper, and every correctly prepared file saves a round of email tag.
Step-by-Step: How to Order Custom Lapel Pins
The ordering process runs in three stages: choose your style and size, submit artwork for a proof, then approve and receive production. Most delays happen in stage two, so front-load your decisions.
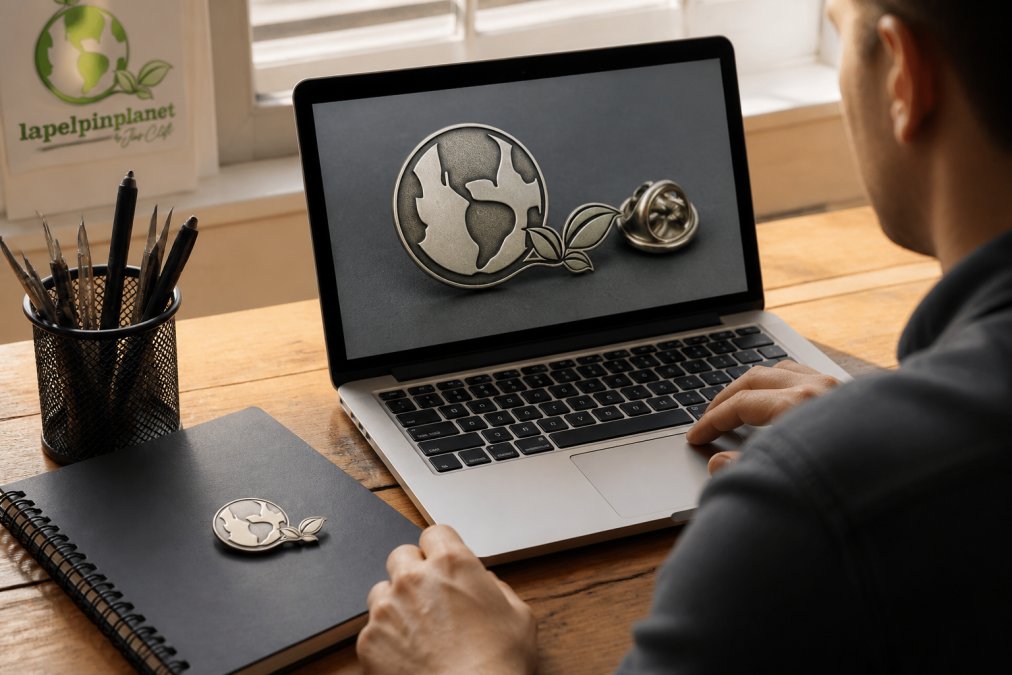
Step 1: Choose Your Pin Style and Size
Start with the style that matches how the pin will be used. Hard enamel gives a smooth, polished surface that resists scratching, suiting corporate recognition and long-term wear. Soft enamel leaves recessed color with raised metal lines for a textured look at lower cost. Die-struck pins skip color entirely and rely on sculpted metal, ideal for detailed crests and logos.
Size follows purpose: pins around 1 inch work well on lapels and lanyards, while larger pins suit display and collector pieces. Plating options such as gold plating or nickel plating change the final look, so decide before you approve artwork.
Step 2: Submit Artwork and Request a Proof
Send your vector file whenever possible. Vectors scale without losing edges, which matters when your design is cut into a die. If you only have a raster file, expect a cleanup step. This is where an artwork proof earns its keep: it shows exactly how your design translates to metal before anything is cut.
Review the proof for color, proportion, and text legibility. Request changes now, not after production.
Step 3: Approve, Produce, and Receive
Once you approve the proof, production begins. Turnaround time depends on quantity, finish, and current demand, so confirm your schedule before committing to a date. Ask for a shipping estimate at the same time so your arrival window is realistic.
Custom Pins with Low Minimum Orders: How to Start Small
Small organizations can absolutely order custom pins. The trick is understanding that custom pins with low minimum orders usually carry a higher per-unit price, because setup cost spreads across fewer pieces.
If you're a nonprofit running a fundraiser or a club ordering insignia, start with a modest run to test the design, then reorder in larger quantities. Reorders skip the die charge, so the second run costs less per pin.
A practical approach for small budgets:
- Order a small first run to validate the design
- Keep the artwork file on hand for reorders
- Ask whether the die is stored for future runs
- Confirm the reorder price before you commit
Our pins are hand-cast in solid, lead-free fine pewter and signed by artist Jim Clift, so even a small run carries the same craftsmanship as a large one.
Common Mistakes to Avoid When Ordering Custom Lapel Pins
Most ordering problems trace back to a handful of avoidable errors, including the backing decision buyers routinely get wrong.
Backing Types: Match the Hardware to How the Pin Is Worn
The backing touches the fabric and determines whether your pin stays put. Most buyers default to whatever the supplier lists first, a mistake. Here's how the options compare:
- Butterfly clutch (military clutch). The classic two-pronged metal clasp. It's secure, low-profile, and works well on suit lapels, blazers, and lanyards. The trade-off: it can be fiddly to attach and remove, and the prongs can loosen over time with heavy use.
- Rubber clutch (rubber backing). A soft rubber cylinder that grips the post. It holds better than a butterfly clutch on active wear, think backpacks, hats, and jackets, and is easier to put on and take off. It's less formal-looking, so it's a poor fit for dress uniforms or corporate awards.
- Magnetic backing. Two magnets sandwich the fabric with no post and no hole. This is the best choice when you don't want to puncture the garment, delicate fabrics, silk ties, or expensive suits. The trade-off: magnets can interfere with pacemakers and other medical devices, and they're not as secure on thin or slippery fabrics.
A practical rule: choose butterfly clutch for formal lapel wear, rubber clutch for active or casual use, and magnetic when you can't puncture the fabric.
Other Mistakes That Cost Time and Money
- Submitting a low-resolution logo. A blurry raster file forces a redraw and delays the proof. See the 300 DPI rule above.
- Approving a proof without checking color. Screen and enamel colors don't match exactly, so always review the Pantone numbers.
- Forgetting the deadline. Production and shipping both take time; work backward from your event and add a buffer for revisions.
- Skipping the die charge in your budget. Confirm whether the die is stored for future reorders, if it is, your second run skips that fee.
- Assuming a cheap quote is a bargain. A low per-unit price with vague turnaround terms often costs more. Ask for the die charge, setup fee, and shipping estimate as separate line items.
One more: don't order before the design is locked. Get the proof right first, then commit to the run.
A Note on Sustainability and Durability
Two questions come up again and again: will the finish last, and is the material responsibly sourced?
On durability, the answer is in the construction. A pin cast in solid pewter with a proper plated finish holds up far better than a lightweight stamped pin with a thin coating, solid metal doesn't flake the way plated base metal can.
On sustainability, ask your supplier how materials are sourced and what energy powers production. LapelPinPlanet casts from recycled materials and runs on sustainable energy. If responsible sourcing matters to you, make it a question in your first email rather than an afterthought.
Frequently Asked Questions
How much does a custom lapel pin cost?
Pricing depends on size, material, plating, and quantity. Setup fees and die charges apply once per design. At LapelPinPlanet, you can choose a stock pin and pair it with a custom card to include your logo or other information. Custom lapel pin card bundles start at $50.00 for 100 cards, with additional cards at $15 per 100.
Where can I order custom lapel pins with no minimum order quantity?
Some providers offer custom pins with low minimum orders. This is ideal for small nonprofits, clubs, or personal gifts. Submit your artwork and quantity to get a quote.
What file format is best for custom pin designs?
Vector files like .AI, .EPS, or .PDF are best because they scale without losing quality. If you only have a raster file (like .JPG or .PNG), a design consultation can help convert it. Vector files ensure clean lines and accurate color matching for your custom lapel pins.
How long does it take to manufacture custom lapel pins?
Production typically takes 2 to 4 weeks after proof approval, depending on complexity and quantity. LapelPinPlanet's family-crafted process includes a proof stage before casting. Rush options may be available. Always confirm turnaround time when you submit your order.